The advent of Web3 software development services, a three-billion-dollar industry, has unleashed new opportunities, with non-fungible tokens (NFTs) at its forefront. Developing an NFT marketplace with React requires precision. Discover the key steps and expert insights from WeSoftYou to navigate this cutting-edge technology landscape.
Key Takeaways:
- Web3 and NFT Opportunities: Web3, a three-billion-dollar industry, offers lucrative possibilities, especially in the realm of non-fungible tokens (NFTs).
- Benefits of NFT Marketplaces: Owning an NFT marketplace presents revenue opportunities through minting, listing, and other fees. Using React enhances code reusability, reducing costs and accelerating time to market.
- Step-by-Step Guide: The article provides a comprehensive guide on using React for NFT marketplaces, covering requirements, dependency installation, setting up CometChat SDK, Infura app, MetaMask access, smart contract development, and frontend creation.
- Smart Contract Implementation: Detailed steps are outlined for creating a smart contract, essential for NFT minting, transfer, and ownership rules. Examples of Solidity code for an ERC721 contract are provided.
- Frontend Development: The article guides readers through developing essential React components for the NFT marketplace, including header, hero, artworks, transactions, footer, and various others.
- Additional Crucial Files: Explains the significance of files such as the state management store, CometChat service, Contract service file, and project assets in ensuring a robust NFT marketplace.
- Server Launch: Concludes with steps to migrate smart contracts, launch the server, and deploy the React app, offering a comprehensive overview of the NFT marketplace development process.
Using React for NFT Marketplaces
The emergence of Web3, currently a three-billion technology, has opened exciting possibilities for tech leaders seeking to stay ahead of the curve. One of its applications, non-fungible tokens (NFTs), is also a lucrative field. Yet, adopting these cutting-edge techs calls for a skilled development team, especially when using React for NFT marketplaces.
Owning an NFT marketplace can be beneficial, given the money involved. You can generate revenues by charging the minting, listing, and other fees and commissions. Building the NFT trading platform using React makes everything even better, given the code reusability and performance, leading to reduced expenses and faster time to market.
Keep reading this post to learn how to create NFT marketplace using React. At WeSoftYou, we have extensive Web3 and blockchain development experience and even launched our NFT collection. We’ll guide you in the marketplace creation process, leveraging our profound expertise in React.
How to Use React for NFT Marketplaces
Navigating the dynamic landscape of Web3 and NFTs requires a strategic approach. This guide provides a step-by-step tutorial on using React for NFT marketplace development, covering requirements, smart contract implementation, frontend development, and essential files. Learn from WeSoftYou’s Web3 and blockchain expertise to embark on your NFT marketplace journey.
Step 1: Requirements
The first step in using React for NFT marketplaces involves determining the project requirements. Building a blockchain-powered platform necessitates a specific range of tools, and ensuring you have everything you need before starting is critical.
Some of the tools you may require include the following:
- NodeJS for backend
- React for frontend
- Ganache-Cli
- Truffle
- Infura
- Tailwind CSS
- CometChat SDK
- MetaMask
- Yarn
Step 2: Dependencies Installation
After you’ve gathered the requirements for your NFT marketplace development, you can proceed by installing the necessary dependencies.
First, you should install NodeJS if you haven’t done it yet. You can download the latest version from their official website and follow the installation instructions for your operating system.
Once you’ve finished this, leverage npm to install other dependencies, including Yarn, Ganache-Cli, and Truffle. You can do this by running the following commands in your terminal:
npm i -g yarn
npm i -g ganache-cli
npm i -g truffle
The following commands will confirm the installation:
yarn –version && ganache-cli –version && truffle version
Finally, after installing the above dependencies, clone a Web3 project from a GitHub repository to initiate your NFT marketplace development. You may use the following command:
git clone <project-url>
This clone will provide you with a basic project structure you can later work on.
Step 3: Setting Up CometChat SDK
Another thing you may want to cover in your NFT marketplace project is streamlining the communication between buyers and sellers. You can do this by setting up the CometChat SDK. This process involves the following steps:
- Create a CometChat account if you need to. You can sign up for a free account on the CometChat website.
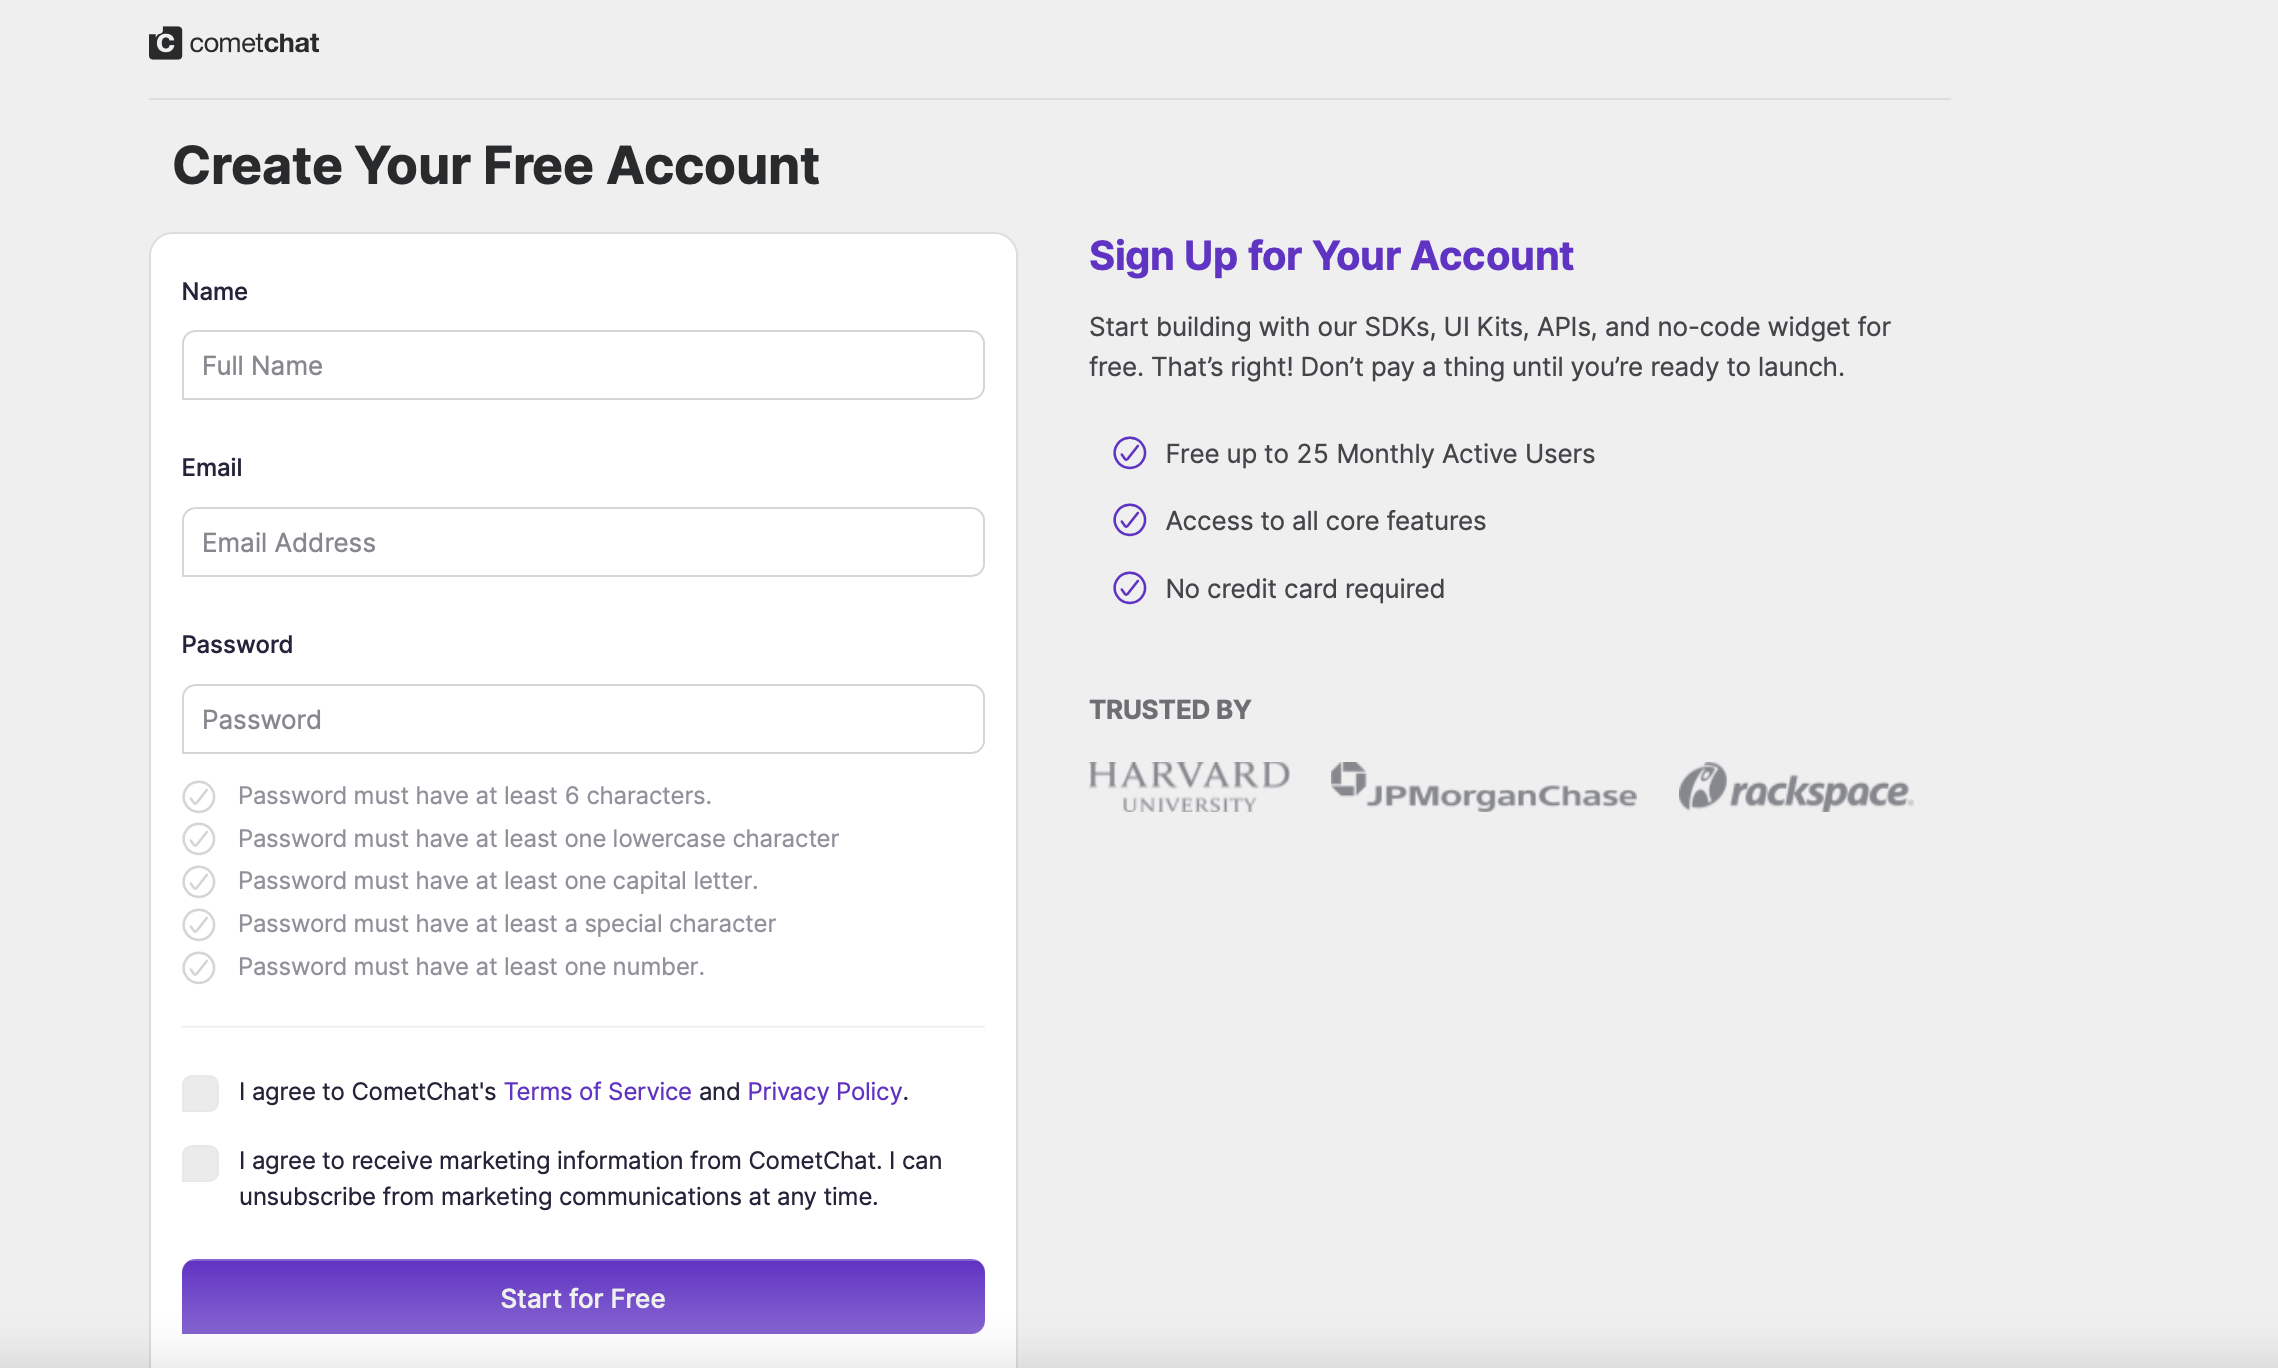
- Once registered, log in to the CometChat dashboard and go to the “Apps” section.
- Click on “Add New App” and add an application called timelessNFT.
- Select the added app from the list.
- Copy the APP_ID, REGION, and AUTH_KEY from the Quick Start section.
- Substitute the REACT_COMET_CHAT placeholders with the relevant information you just copied.
Step 4: Setting Up an Infura App
Before hopping on the fourth step, let’s swiftly summarize the following. How do NFT marketplaces work? They leverage blockchain infrastructure to enable the buying and selling of non-fungible tokens. To make that possible, you’ll need to install an app like Infura. Here’s a step-by-step guide to setting it up:
- Go to the Infura website and set up an account.
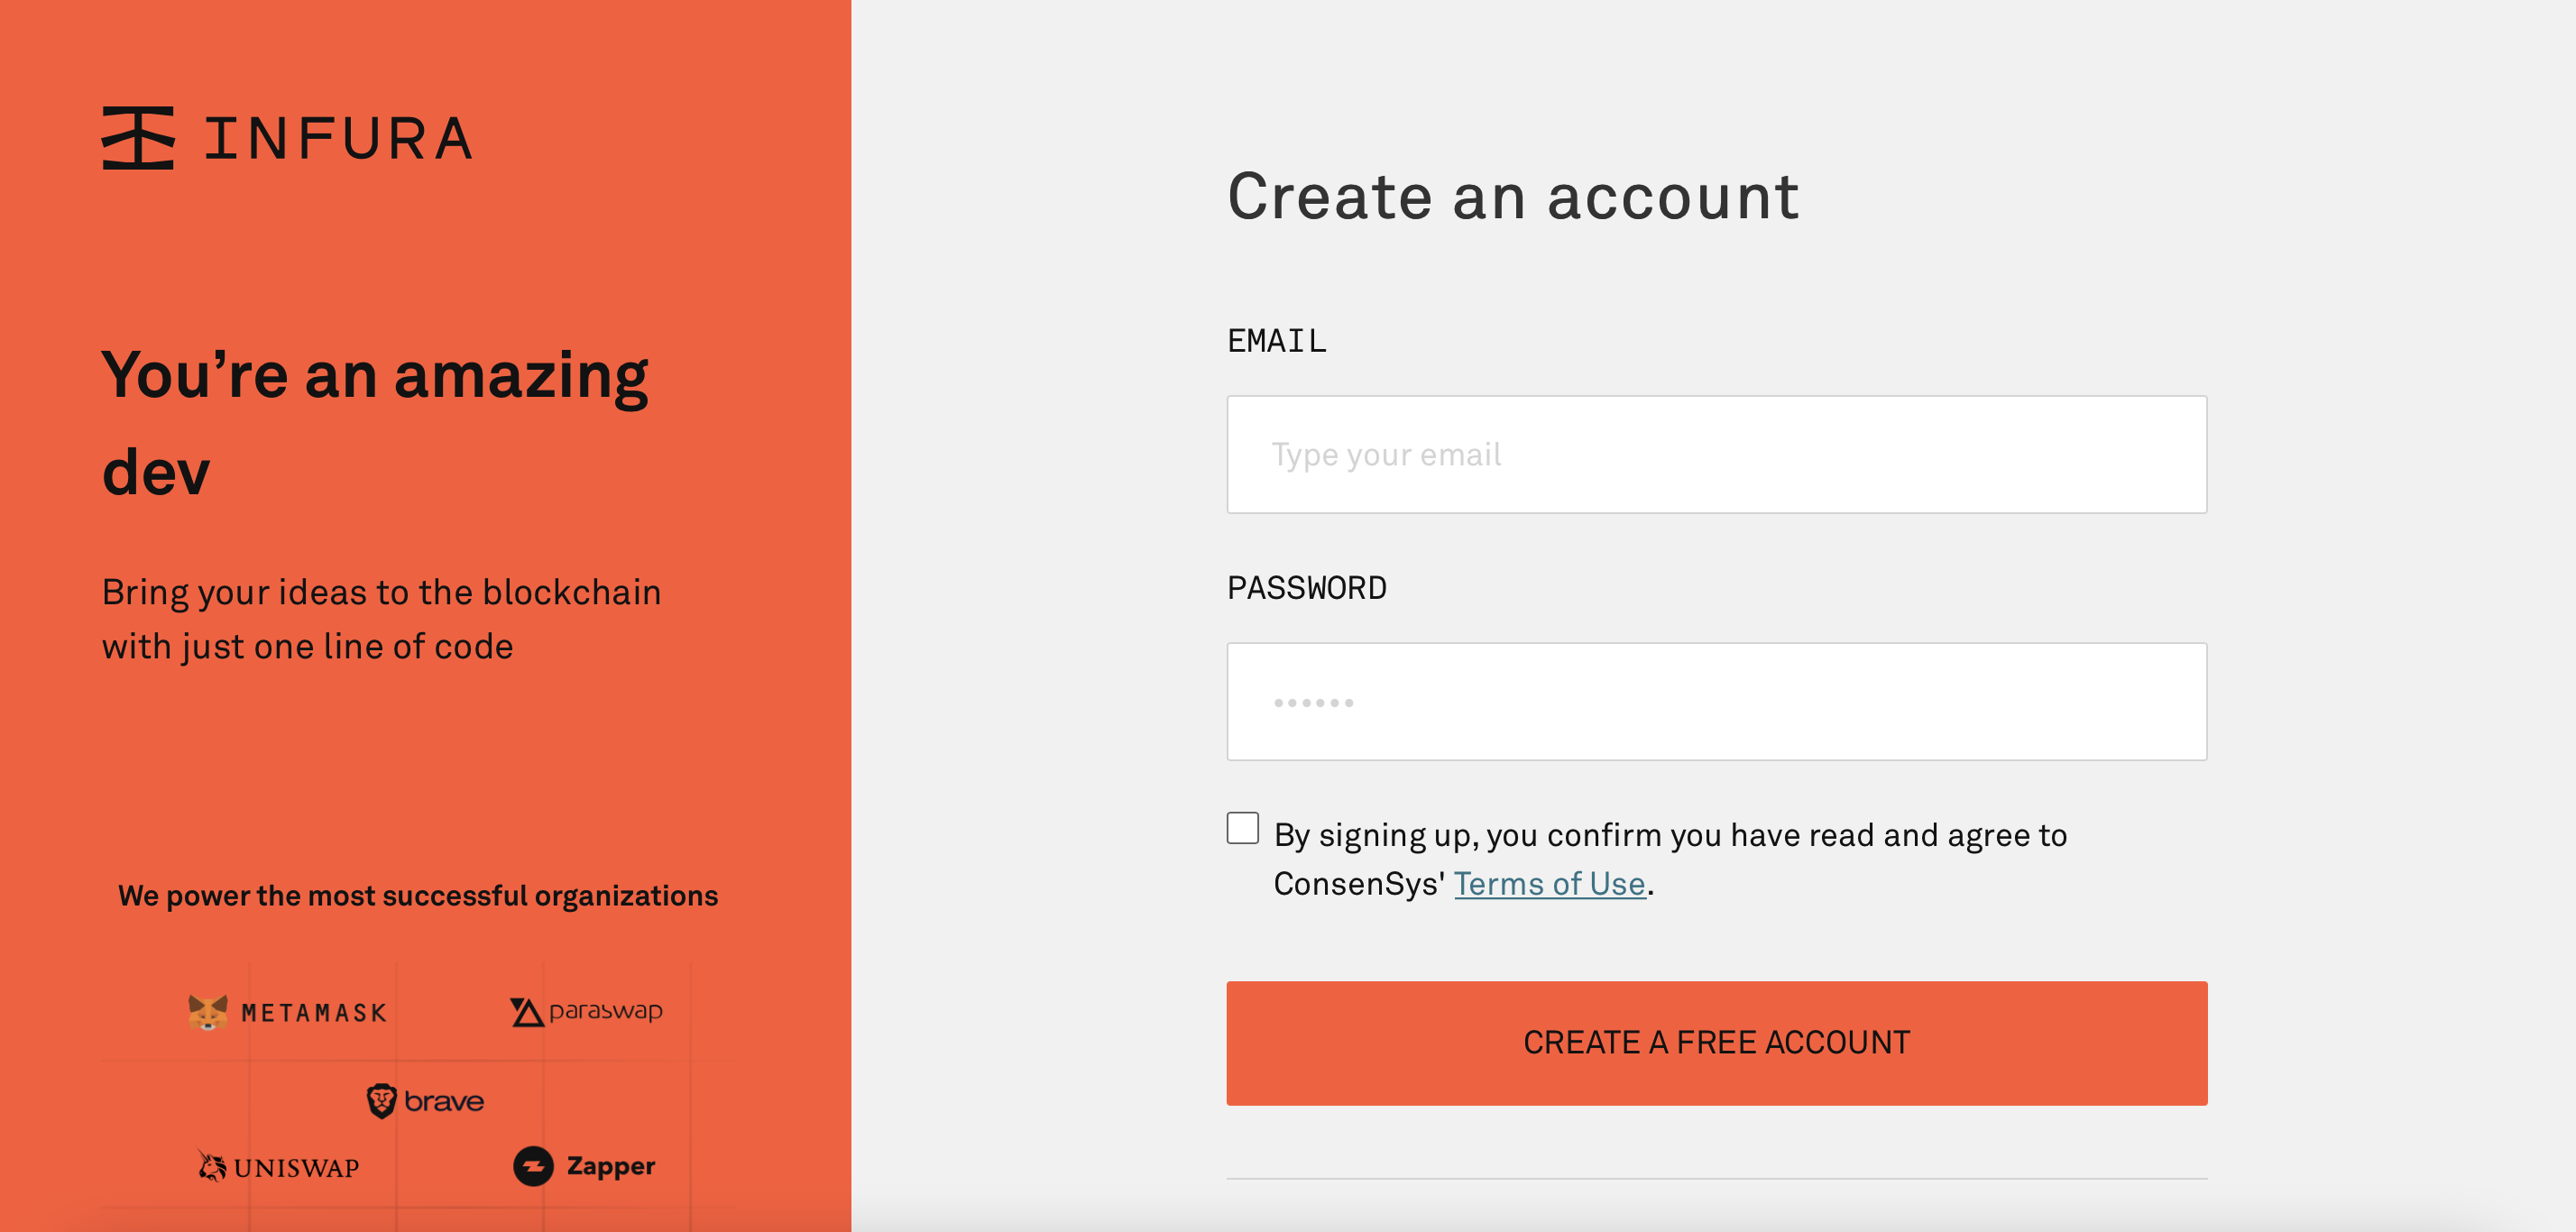
- Once you’ve created an account, log in to the Infura dashboard and create a new project by clicking the “Create New Project” button.
- Name your project and select “Ethereum” as the network. You can also choose a specific Ethereum network, such as “Mainnet” or “Rinkeby,” depending on your needs (we suggest the latter).
- Once you’ve created the project, you’ll get with an endpoint URL that you can use to access the Ethereum network through Infura. You should copy this URL to use later when configuring your NFT marketplace.
- Also, add your MetaMask private key to the Infura app in the “Keys” section.
Step 5: MetaMask Private Key Access
As already mentioned, you need a private MetaMask key to set up the Infura app. No worries if you don’t know how to access one in the MetaMask wallet. All you have to do is to follow these simple steps:
- Install the MetaMask browser extension from their official website.
- Create a new account and ensure you select Rinkeby as the test network.
- Click the three dots next to your account name and select “Account Details.”
- On the account details page, you should see an “Export Private Key” section.
- Click the “Export Private Key” button and enter your MetaMask password.
- After that, the wallet will display your private key. You should copy it to your env. file and paste it into the SECRET_KEY section.
Please note: you should keep your MetaMask private key to yourself, as it gives access to your Ethereum account.
Step 6: NFT Smart Contract
After you have all the apps set up, you can move on to implementing smart contracts, which are crucial for your crypto and NFTs functionality. These determine the non-fungible token minting, transfer, and ownership rules.
An example of smart contract code may include the following, written in a Solidity programming language:
pragma solidity ^0.8.0;
import “@openzeppelin/contracts/token/ERC721/ERC721.sol”;
contract MyNFT is ERC721 {
constructor() ERC721(“MyNFT”, “NFT”) {}
function mint(address to, uint256 tokenId) public {
_mint(to, tokenId);
}
}
This contract uses ERC721, a widely accepted NFT standard on the Ethereum network. Let’s now briefly overview the functions:
- The constructor function sets the name and symbol of the NFT contract.
- The mint function allows you to mint new non-fungible tokens by specifying the recipient address and a unique token ID.
Once you’ve done with your smart contract code, compile it using a tool like Truffle and deploy it to the Ethereum network. We’ll discuss the deployment process in the next section of our article.
Step 7: Setting Up Deployment Script
Another step to building your NFT marketplace involves setting up a deployment script for smart contracts. Here’s how to do it.
- Open the migrations folder of your project, then navigate to 2_deploy_contracts.js.
- Enter the following code snippet:
const TimelessNFT = artifacts.require(‘TimelessNFT’)
module.exports = async (deployer) => {
const accounts = await web3.eth.getAccounts()
await deployer.deploy(
TimelessNFT,
‘Timeless NFTs’,
‘TNT’, 10, accounts[1]
)
}
That finishes the implementation of smart contracts on your NFT platform. Keep reading to discover how to build an efficient UI for your marketplace.
Step 8: Frontend Development
This step involves creating the user interface for your NFT marketplace using React components. Here’s an overview of the key ones you’ll need to develop:
- Header Component. It must contain the logo, navigation menu, and search bar for your NFT marketplace. You can also add a “Connect Wallet” button here.
- Hero Component. This component will be the main banner or slider at the top of your marketplace showcasing featured NFTs or promotions. It can also display the connected wallet and include actions necessary for NFT creation.
- Artworks Component. This component will display a grid of available NFTs for sale, with information such as the title, artist, price, and buy button.
- Transactions Component. It will show the user’s transaction history, including purchases and sales.
- Footer Component. This component typically contains links to important pages such as About Us, FAQ, and Contact Us.
- CreateNFT Component. This component will allow users to mint and upload their NFTs to sell on the marketplace.
- ShowNFT Component. It must display detailed information about a specific NFT, including its image, description, and current bid price.
- UpdateNFT Component. This component will allow the NFT owners to update their non-fungible tokens with new images, descriptions, or prices.
- ChatList Component. This component will display a list of available chats, allowing users to connect and negotiate sales.
- Chat Component. This one provides a chat interface for users to communicate with each other.
- Loading Component. This component will display a spinner or progress bar while data is being fetched or loaded.
- App Component. This one is the main container for all the above components.
Ensure you have these components when using React for NFT marketplaces development. They will provide a user-friendly platform where everyone can create, buy, and sell non-fungible tokens effortlessly.
Step 9: Additional Crucial Files
There are several additional files you can add to your NFT marketplace project. Let’s go through them in greater detail.
- The state management store. This file uses the react-hooks-global-state npm to manage the application’s state.
- The CometChat Service. This file enables real-time chat functionality in the NFT marketplace. It contains chat messages, notifications, and user authentication functions.
- The Contract Service File. This file handles communication with the smart contract on the Ethereum blockchain with the Web3 library. It includes functions that enable users to create, read, update, and delete NFTs on the marketplace.
- Project Assets. It’s a folder that comprises all the necessary images, fonts, and other media files used in your NFT marketplace.
Step 10: Server Launch
Finally, start a server to create NFT marketplace. You can do this in the following steps:
- Migrate the created smart contract to the web by running the following command: truffle migrate –network rinkeby.
- Launch one terminal run entering the command: **ganache-cli -d**.
- Open another terminal run entering the command: **truffle deploy** or **truffle migrate**.
- After that, run the yarn start command to launch your React app.
And you’re all set. You may also be interested in the cost of NFT marketplace development, which we’ve discussed in our previous article.
Conclusion on Using React for NFT Marketplaces
By now, you should know how to develop your NFT marketplace using React. As you can see, it’s not a straightforward process involving numerous tasks. From dependencies installation and various apps setup to frontend development and server launch: it requires in-depth Web3 and blockchain expertise.
Why use React for your NFT marketplace? Though you may choose from other libraries and frameworks, this one might be the best option if you’re looking for a highly performant and easy-to-use tool. By accessing its large community, you can find the necessary recommendations for your NFT platform development.
Yet, if you need help building an NFT marketplace and want to engage an expert team to deliver it, WeSoftYou specialists can help. We have profound experience in Web3 development and are knowledgeable about NFTs.
Our team can build a custodial, non-custodial, universal, or niche NFT marketplace as per your requirements. We’re proficient in React, NodeJS, Solidity, and other technologies necessary for a successful NFT platform implementation and launch.
So, if you’re interested in working with us, feel free to contact us for a consultation. We’ll suggest the best solutions that’ll help you adopt Web3 to stay on top of the competition.
FAQ
Yes, an NFT marketplace is a type of dApp, i.e., a decentralized application. It leverages blockchain tech to ensure transaction security and reach decentralization, eliminating the need for intermediaries and central authorities.
Creating an NFT marketplace involves several steps, including the following ones:
Determining the necessary development tools
Installing such dependencies as NodeJS, Yarn, Ganache-Cli, and Truffle
Setting up the CometChat SDK, Infura app, and MetaMask
Creating and deploying smart contracts for NFTs
Developing frontend
Launching the server
After launch, you should test your NFT marketplace and improve it based on user feedback.
Why use React for NFT marketplaces? Here are a few benefits:
Efficient code organization
Fast rendering
Numerous community-supported libraries and tools
Component-based architecture, i.e., reusable UI elements
Virtual DOM for swift updates.


![How To Hire Blockchain Developers [Guide], image #8](https://wesoftyou.com/wp-content/uploads/2023/01/0-Hire-Blockchain-Developers_-Find-and-Choose-Your-Trusted-Crypto-Devs-Cover-Image.png "How To Hire Blockchain Developers [Guide], image #8 - WeSoftYou")